

There are three sets of three that I designed to replace the aluminum ranch-style windows the Glage factory installed in this trailer in 1974. Good riddance. It took courage to knock holes in our house, but hey-- no guttings, no glory.
When it came to framing the windows, I couldn't
find anything as big and William-and-Mary as our doublewide demanded (this
house always gets what it wants) so I put two pieces of molding together, managed to ace that, and aced some architecture out of this shoe box as well.

I was, however, stumped by the window coverings.
After all we did to brighten and expand the room, why would I want to close
it back up? If we didn't have a sidewalk in front of our house with people walking by all day,
I'd leave the windows completely open. Hey, I might be a showboater, but I am
certainly not an exhibitionist. Usually. So this is
how I pulled it off (so to speak, so to speak), in two noteworthy ways.

While painting, I covered the lower half of the windows with wax paper, as you can see above. Yep. Ordinary grocery store variety wax paper. Cheap, quick, worked like a charm. Remember that. For a temporary fix it doesn't look half bad. Then, since we had to spend our money on other areas, we decided to just live with the wax paper for a while. After a few years, though, my husband started voicing complaints. Loud insistent complaints. Okay, okay, so it was more than a few years. We still can't afford the window coverings I want, but I did find a good alternative that was inexpensive and every bit as easy to install-- decorative plastic window film, sort of like the old frosted Contact paper, but easier. How much easier? Allow me to demonstrate.
While painting, I covered the lower half of the windows with wax paper, as you can see above. Yep. Ordinary grocery store variety wax paper. Cheap, quick, worked like a charm. Remember that. For a temporary fix it doesn't look half bad. Then, since we had to spend our money on other areas, we decided to just live with the wax paper for a while. After a few years, though, my husband started voicing complaints. Loud insistent complaints. Okay, okay, so it was more than a few years. We still can't afford the window coverings I want, but I did find a good alternative that was inexpensive and every bit as easy to install-- decorative plastic window film, sort of like the old frosted Contact paper, but easier. How much easier? Allow me to demonstrate.

At Home Depot I found window film in a simple, uncluttered rice paper pattern made by Artscape. That's it on the left and on the right is the wax paper. Both have a nice frosted effect that blocks the view, but not the light.

I started the project by giving the windows a
good cleaning and laying out all my materials: window film, squeegee, metal
yardstick, razor cutter, pencil, spray bottle, and old towels to catch the
water.

After carefully measuring the windows minus a
slight 1/8 inch gap around the edges, I then measured and marked the
paper backing on the window film. It comes the width of a standard
window, so I only had to make one cut.

A razor was used to cut through the film
+ backing with one continuous, clean-edged sweep. My trusty metal yardstick
guided the razor smoothly with no gouging. I like to work over a big heavy sheet of
cardboard (the back of an old drawing tablet) so I don't have to
worry about damaging floors or tabletops.

Peeling the plastic film away from the paper backing is simple; just keep it clean and don't lay it down on anything dusty.

The window then got a thorough spritzing of
water mixed with a drop of liquid soap.

The trickiest part was positioning the film on the window so that the edges were equal and parallel. But that wasn't so difficult either, since there's no adhesive involved and the film can be moved and reapplied as many times as needed.

While positioning the film, I began
smoothing out the air and water bubbles, always working from the center out. If it didn't line up, I just peeled it off and redid it until I got it right.

Finally, to remove the last of the bubbles, I
finished smoothing with a clean squeegee, again working center-out, until all
the water was forced out the sides. A quick wipe-down to sop up the water,
and the job was done.

Now here's what I mean by knocking a
hole in the house. Actually, three holes. Three very big holes that had to
be put back together in one day. No, I didn't do this work myself, but I did do a terrific job of supervising.

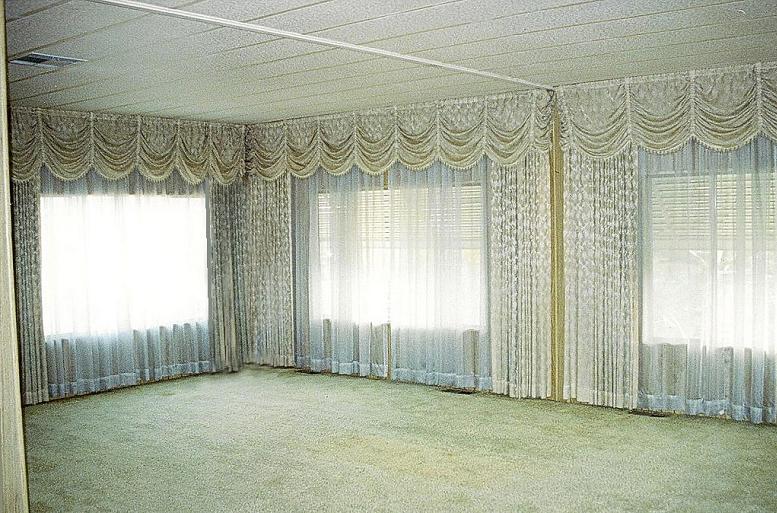
And just to show you how far this house
has come, here's a photo of it when we bought it. No, seriously, this was what I
got myself into. Some of my readers (if not all) will be wondering WHY. Well, with the cost of
living higher here than anywhere else in the country, this is all we could
afford in order to stay in what is also one of the most beautiful areas of the
country.
For grins, compare these photos before and after. You are looking at the same corner of the same room. Remodeling this house has been such a long, drawn-out process, I tend to forget how drastically it has changed, and I'm a bit flabbergasted every time I see the old photos. Certainly one of the biggest changes has been these windows. So if anyone wants to know, yes, I do windows. But my husband gets to clean them.


